

What you need:
Cardboard box
Scissors or box cutters
Yardstick
Pen
Spray adhesive, glue or tape
Your favorite paper or fabric
What to do:
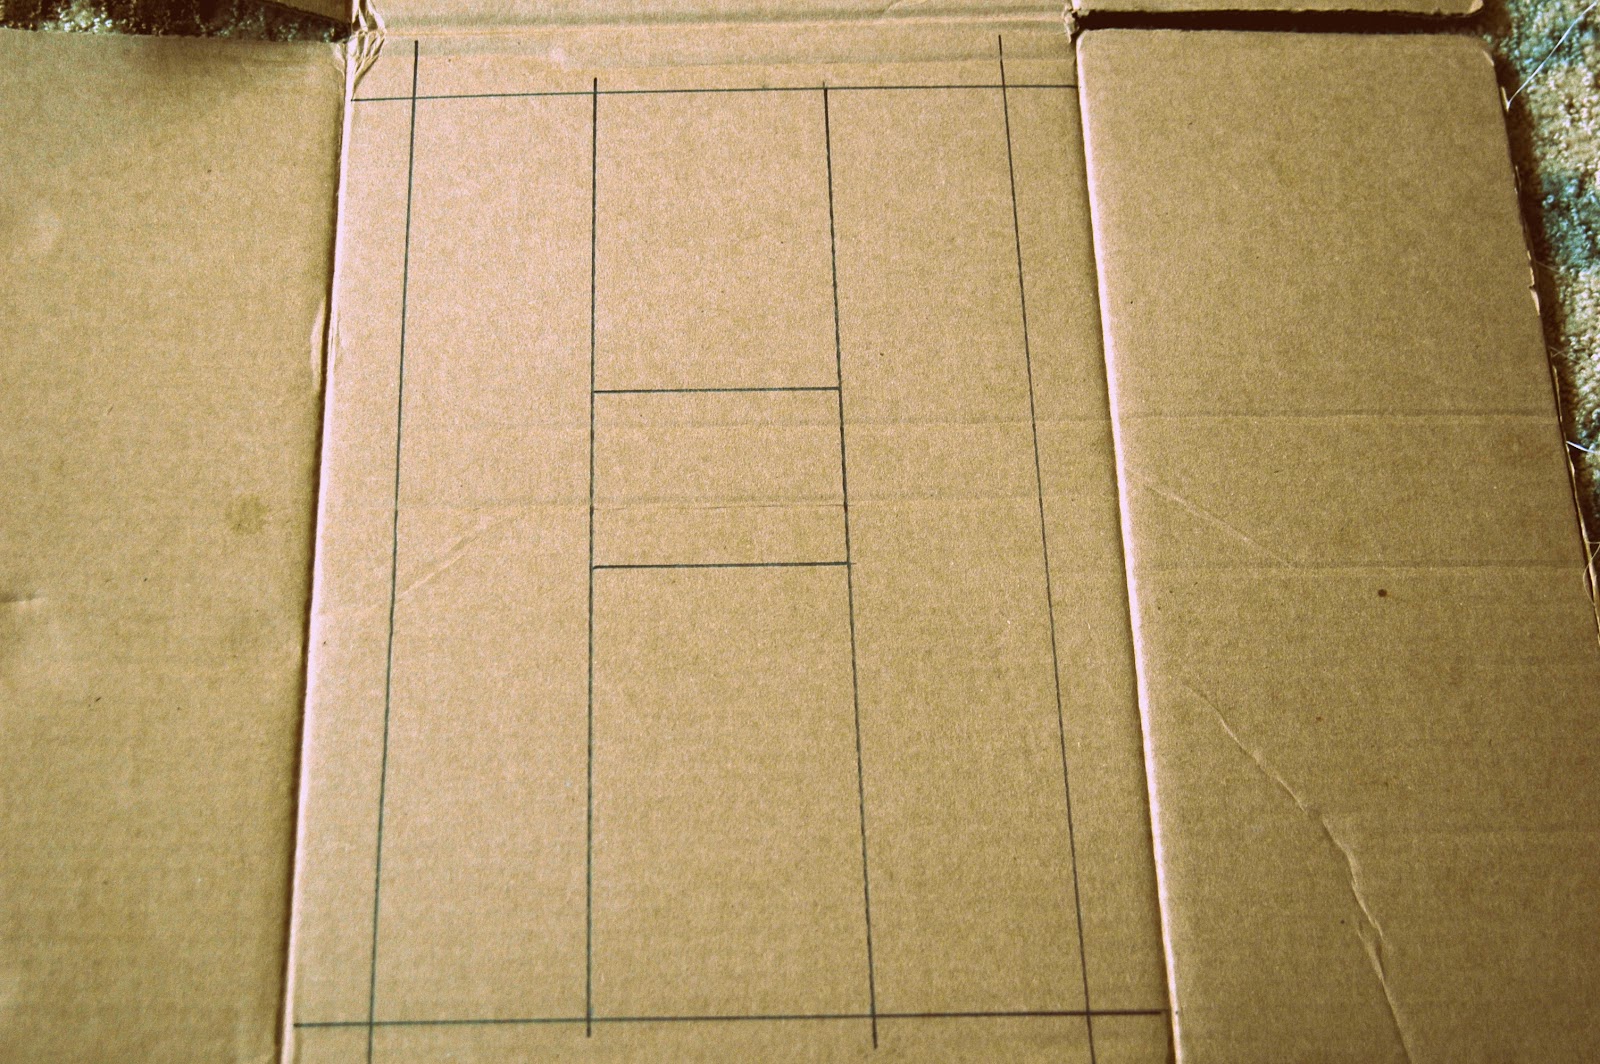
1. Flatten out your cardboard box and find a large section with no creases. Trace the letter of your choice using your ruler.

2. Cut out the letter being careful not to bend the cardboard.


3. Select your choice of decorative paper or fabric


4. Begin wrapping your letter as you see fit. You may have to play with it a couple times to get it to look just right. I used hot glue and as you see in the photos, I just layered the paper with a strip of hot glue then trimmed the edges.


5. If you use paper, it is easy for it to rip as you wrap it around the corners of the letter. One way to make it easier is to wrap the edges like you would a present.


6. Cover all the cardboard and voila, you've got a cute DIY monogram letter!
Pin It


No comments:
Post a Comment
Thank you for sharing your thoughts!