
So then I googled "how to make your own bridal bouquet" and that appeared very easy so I decided to actually make my own bridal bouquet. I bought all my supplies at Michael's for under $10 and I bought a bunch of mums at Trader Joe's for $4.99 and they lasted for about two weeks. The only problem with mums is that there are multiple stems coming off from the main stem so it makes for a bunch of flower heads at different heights. When making the actual bouquet, it's better to use single stems. Here is the step-by-step:
*Before beginning, cut off about an inch of the stems and soak the flowers in a vase of water with a packet flower food. Let them sit for about an hour or so.

Wide Satin Ribbon
Green Floral Tape
Pearl Tipped Corsage Pins
Scissors

Separate and lay out all the flowers.
Remove the leaves and extra foliage.

Pick the largest flower, this will be the center.
Take one stem in your hand and criss-cross it
against the center stem. Take another stem,
and criss-cross it the opposite way. This will
start a spiral pattern for your bouquet.

Take a piece of floral tape and wrap it around
the three stems to create a base.
Wrap it enough times to make it secure.
 Pick up the remaining stems, one by one,
 and add them to your bouquet in a spiral pattern
by twisting the stems clockwise in your hand
each time you add a new flower. If you look
closely at the photo, you can see that the
stems cross over each other in a spiral.
When adding your flowers, pay attention to
the height and roundness of your bouquet.

When you have added all your flowers,
wrap the stems with floral tape for
the length of your bouquet handle.
It's safe to wrap from the top on down,
then back up again.

Once your bouquet is secured with
floral tape, it's time to wrap it
with the satin ribbon.

Begin at the top and wrap down toward
the bottom, then back up for good coverage.
If you want, you can wrap it ALL
the way to the bottom, but I think
it looks better if the ribbon is just
longer than what your hand will cover.

Once you have arrived back at the top,
cut the ribbon and fold it back to hide
the frayed edge.
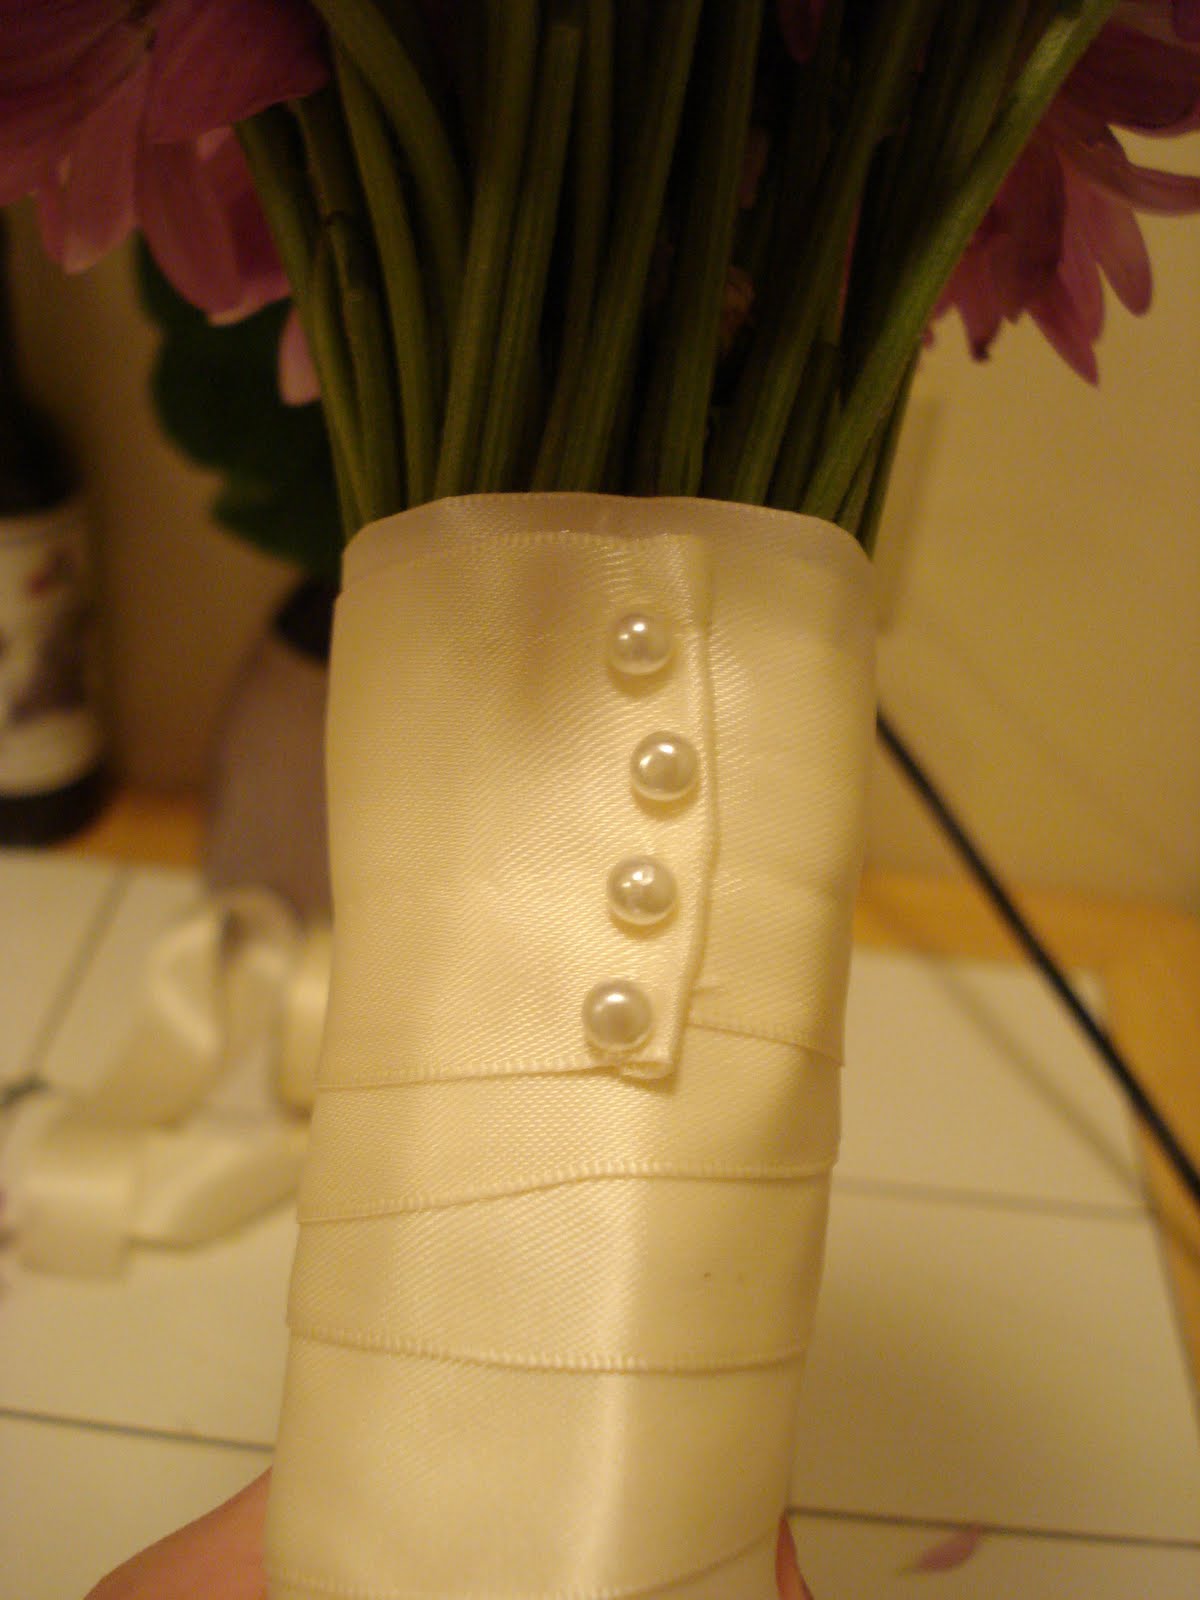
Take one of the corsage pins, and stick it
through the ribbon at an upward angle to avoid
it poking out the other side of the bouquet.
It's best if you can stick the pin upward through
a stem, but I found this somewhat difficult.
Repeat with three more pins.

You are almost done with your bouquet.
You will need to trim the bottom of the
stems to about 1" below the ribbon,
or whatever looks good to you.

Once you trim the stems, VOILA!
You have your bridal bouquet.
Pin It


That looks absolutely amazing Laura! I wish you could do mine! I would hire you!
ReplyDelete